Installing a shower can seem daunting, but it can be a relatively straightforward process with the proper guidance and tools. In this article, we will take you through each process step, from planning to completion, so that you can enjoy your new shower confidently and quickly.
Planning
Before you start any work, planning your installation carefully is essential. Firstly, consider the location of the shower. It is best to place it in a corner near the hot and cold water supplies and the drainage system.
Next, you will need to choose the proper shower. Many options are available, from power showers to electric showers, so select one suitable for your needs and budget. Consider factors such as water pressure, hot water supply, and energy efficiency.
Tools and Equipment
You will need the following tools and equipment for the installation:
- Adjustable wrench
- Drill
- Hole saw
- Spirit level
- Plumbers tape
- Teflon tape
- Silicone sealant
Step 1: Turn off the Water Supply
The first step is to turn off the water supply to the area where you will install the shower. This is a crucial safety step, as you do not want water to flow while working.
Step 2: Install the Shower Arm
Install the shower arm, which is the pipe that extends from the wall to the showerhead. Ensure the arm is level and secure it with screws or brackets.
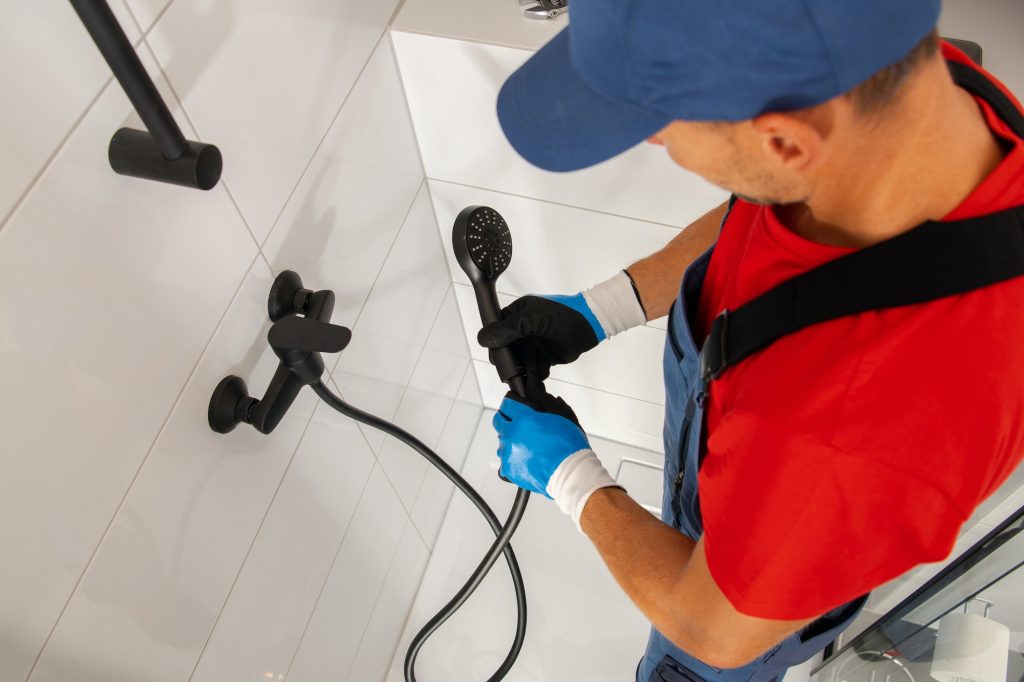
Step 3: Install the Showerhead
Install the showerhead onto the shower arm and tighten it securely with an adjustable wrench.
Step 4: Install the Valve
Install the valve, which controls the flow and temperature of the water. This is typically installed in the wall and connected to the hot and cold water supplies.
Step 5: Install the Shower Tray
Install the shower tray, which is the base of the shower. Make sure it is level and secure it in place with screws or brackets.
Step 6: Install the Shower Screen
Install the shower screen, which will keep water contained within the shower tray. Make sure it fits securely, and use silicone sealant to seal any gaps.
Step 7: Connect the Drainage System
Connect the shower tray to the drainage system. This is typically done using a waste trap and shower waste. Make sure the connection is secure and watertight.
Step 8: Test the Shower
Finally, turn the water supply back on and test the shower to ensure it works properly. Check the temperature, flow, and pressure, and make necessary adjustments.
Conclusion
By following these steps, you can install a shower confidently and efficiently. With the right tools, equipment, patience and care, you will soon enjoy your new shower and maximise your bathroom.


